
A Step-by-Step Guide to Dry Type Transformer Installation
Proper installation is absolutely critical to the safe and reliable operation of a dry type transformer. While the work must be performed by a qualified electrician, understanding the key steps is beneficial for project managers and facility owners. An incorrect installation can lead to equipment failure, safety hazards, and voided warranties.
This guide provides a general step-by-step overview of the installation process.
DISCLAIMER: This article is for informational purposes only. Always follow the manufacturer’s specific installation manual, as well as all national and local electrical codes. All work must be done by licensed and qualified personnel.

Step 1: Pre-Installation Inspection and Preparation
Before you even move the transformer into place, several checks are necessary.
- Inspect for Shipping Damage: Carefully examine the transformer upon arrival. Look for any dents in the enclosure, cracked insulators, or other signs of damage that may have occurred during transit.
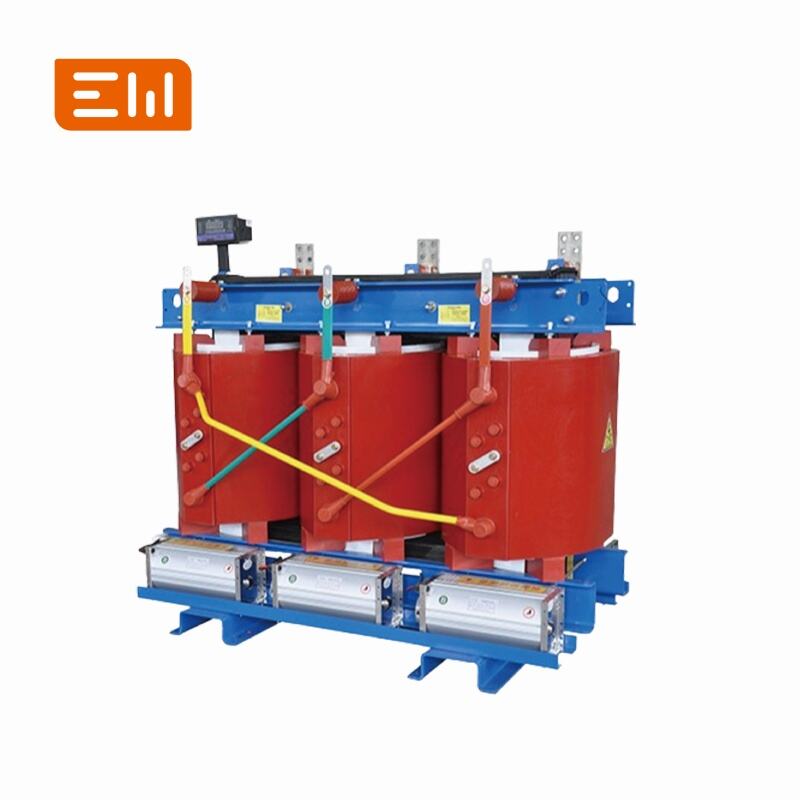
- Verify Nameplate Data: Cross-reference the transformer’s nameplate with your project plans. Ensure the kVA rating, primary/secondary voltages, phase, and impedance match exactly what was specified.
- Gather Tools and Materials: Ensure you have all necessary tools, connectors (lugs), and properly sized conductors ready for the installation.
Step 2: Selecting the Proper Location
The location is key to the transformer's longevity.
- Clean and Dry: The site must be clean and dry. Avoid areas with corrosive elements, excessive dust, or high humidity unless the transformer enclosure is specifically rated for it.
- Ventilation and Clearance: This is one of the most critical safety precautions. A dry type transformer cools itself by air convection. You must respect the minimum clearances specified by the manufacturer on all sides, top, and bottom to allow for adequate airflow. Do not block vents.
- Level Surface: The transformer must be installed on a solid, level surface that can support its weight.
Step 3: Mounting and Positioning
Once the location is prepared, the transformer can be moved into position.
- Lifting: Use the designated lifting eyes or forklift provisions as shown in the manufacturer's manual. Lift smoothly and avoid any shocks.
- Vibration Dampening: For floor-mounted units, it is highly recommended to install vibration-dampening pads between the transformer base and the floor. This prevents normal operational vibrations from transmitting into the building structure, reducing audible noise.
- Securing: Securely bolt the transformer enclosure to the floor or supporting structure as required.
Step 4: Electrical Connections
This is the most technical phase and must be done with extreme care on a de-energized system.
- Select Tap Settings: If your transformer has voltage taps, select the appropriate tap setting on the primary side to match the actual source voltage.
- Connect Conductors: Connect the primary (high-voltage) and secondary (low-voltage) conductors to the correct terminals as shown on the wiring diagram. Ensure phases are connected correctly.
- Torque Connections: Use a calibrated torque wrench to tighten all bolted electrical connections to the precise values specified in the manufacturer's manual. Loose connections are a primary cause of overheating and failure.
- Connect Grounding: Connect the main equipment grounding conductor to the designated grounding lug on the transformer enclosure. This is a critical safety connection.
Step 5: Final Checks and Energization
Before powering up the transformer, a final set of checks is required.
- Final Inspection: Do a final sweep of the installation. Remove all tools, debris, and foreign objects from inside and around the enclosure. Verify all clearances are maintained.
- Pre-Energization Testing: A qualified technician should perform electrical tests, such as an insulation resistance (Megger) test, to ensure the insulation is in good condition and no short circuits exist.
- Energization: Following all safety protocols, close the secondary (low-voltage) breaker first, and then close the primary (high-voltage) breaker to energize the transformer.
- Post-Energization Checks: Once energized, check the secondary voltage to ensure it is correct. If possible, use a thermal camera to check for any hot spots at connection points as the load is applied.
Conclusion: A Foundation for Reliability
A methodical and precise installation process is the foundation for a transformer's long and reliable service life. By paying close attention to detail, adhering to safety codes, and following the manufacturer's instructions, you ensure that your https://www.enweielectric.com/products/transformers/dry-type-transformers">dry type transformer will perform as designed from day one.
If you have any questions about installing an Enwei Electric transformer, please https://www.enweielectric.com/contact-us">contact our technical support team for assistance.